- Poolsuite FM Player in NativeScript, Part 1: Project setup + UI
- Android PoolSuite FM in NativeScript, Part 2: Refining the UI
- Android PoolSuite FM in NativeScript, Part 3: 🎵 Playing the music
Continue with our journey to craft our PoolPartyFM – an Android version of Poolsuite FM Player in NativeScript. In Part 1, we already have our project set up with some basic layout in place. However, it is not perfect yet and still lack of original Poolsuite’s retro vibe. In this Part 2, we are going to fix it.
In this Part 2 of the tutorial we will cover below main points:
- Try to add retro patterns to our UI.
- Replicate the Waveform progress bar in NativeScript.
- Upgrade our app look & feel with retro fonts.
- And finally, add global tap animation for all of our buttons.
Before we begin, TLDR; you may find the full source code & any updates later will be available on Github: https://github.com/NewbieScripterRepo/PoolPartyFM
And the source code of Part 2 by the end of this article, is on part-2-retro-style branch. Feel free to clone it and play around. Please star the repo if you don’t want to miss any updates. Let’s get started.
1. Add retro touches to the Play control & cool background to our Android PoolSuite FM
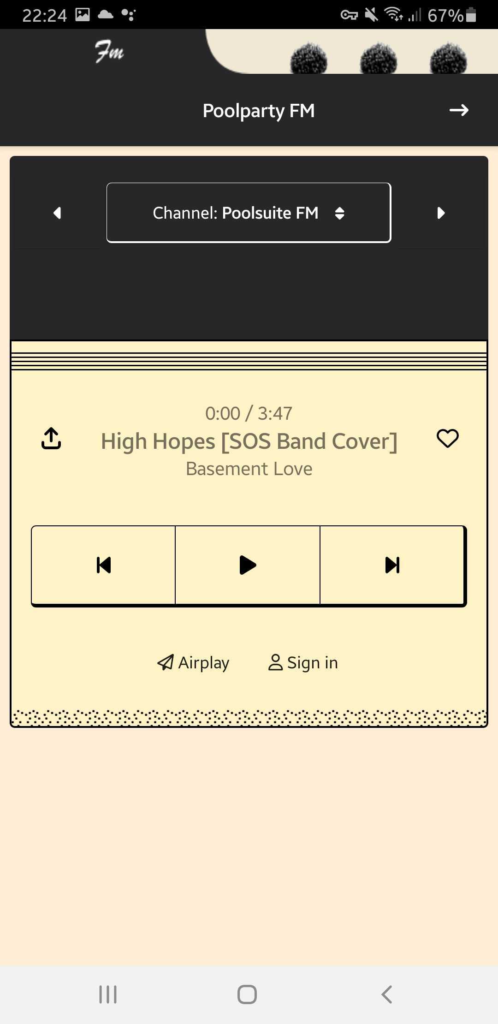
In Part 1, our UI was plain and boring because we didn’t add the top strip lines and the bottom pixelated dots effect (or whatever it’s called).
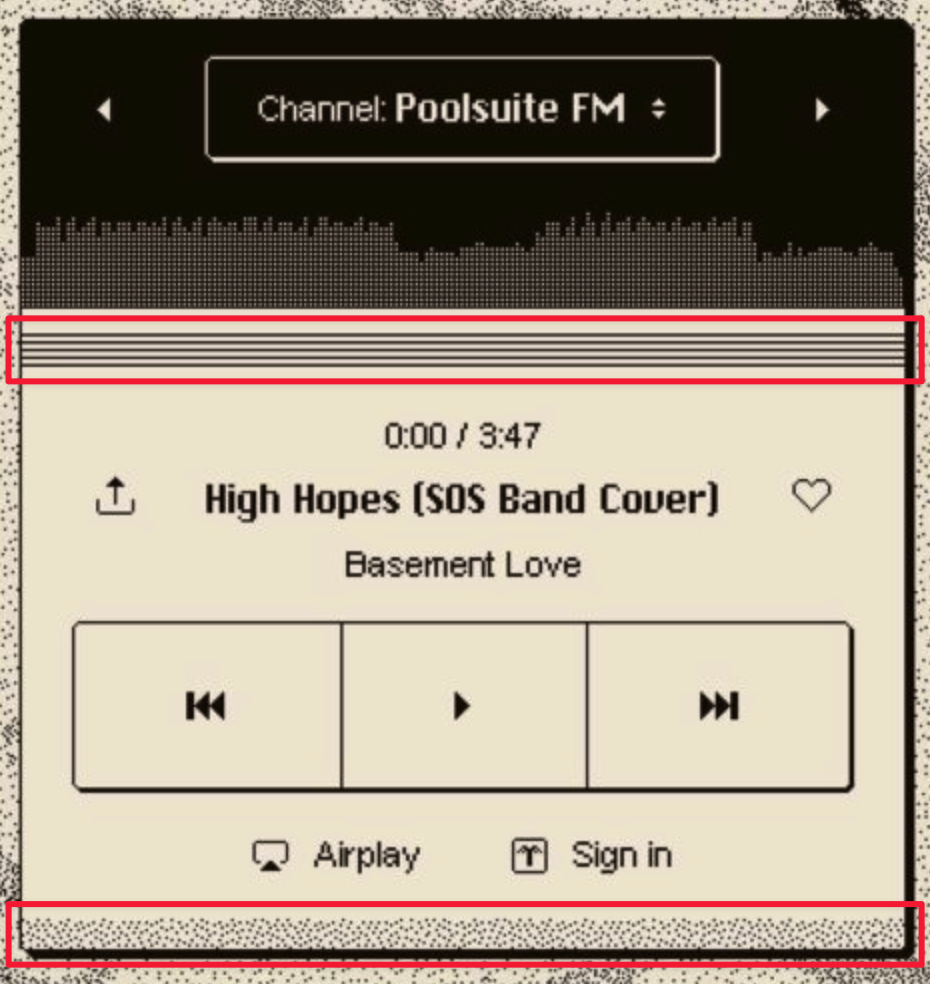
You may wonder how we can achieve this in NativeScript. If you think carefully, you’ll see that both are just repeated patterns. You can use the CSS properties background-image and background-repeat to repeat the image horizontally, creating the same visual effect as the UI above.
Using my basic photo editing skill, I prepared two pattern images below to use for our app:
- Lines: https://github.com/NewbieScripterRepo/PoolPartyFM/blob/part-2-retro-style/src/assets/lines.png
- Pixalated dots: https://github.com/NewbieScripterRepo/PoolPartyFM/blob/part-2-retro-style/src/assets/dots.png
Unfortunately, multiple background images specs seem not supported in current NativeScript version (I doubt if it ever supported). We have to use a dummy element to hold the background image for the top lines, and put dots image in the other.
Let’s expand our Play Control’s GridLayout, and put a dummy StackLayout with a class name called “bg-lines” like this. While we put another class name for outter GridLayout called “bg-dots”
<GridLayout
  class="bg-amber-100 border-4 border-black rounded-b pb-2 bg-dots"
  rows="40, 80, 100, 90"
  columns="65,*,*,65"
>
  <StackLayout row="0" colSpan="4" class="mb-4 bg-lines" />
  ...
</GridLayout>
The with little css like this:
.bg-dots {
  background-image: url("~/assets/dots.png");
  background-repeat: repeat-x;
  background-position: bottom;
}

.bg-lines {
  background-image: url("~/assets/lines.png");
  background-repeat: repeat-x;
  background-position: bottom;
}
Viola! Now the player look much much better.
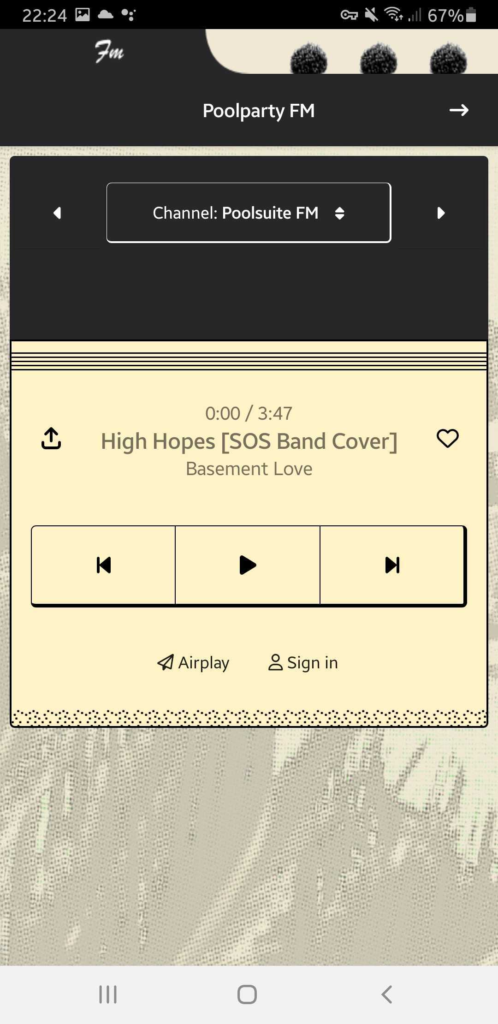
But we are still missing something, the background! I found a beautiful pool photo by Dim Hou on Unsplash . Again, with my humble photo editing skill, tried to pixelated it add a little retro vibe to it. The result turned out pretty well: https://github.com/NewbieScripterRepo/PoolPartyFM/blob/part-2-retro-style/src/assets/bg.jpg.
Let add this background image to the outer <StackLayout> element.
<StackLayout class="p-2 bg-main">.bg-main {
background-image: url("~/assets/bg.jpg");
background-size: cover;
}And the final result:
2. Upgrade our progress bar with Waveform progress bars!
Now comes the hard part. My plan is going to make 100 rectangle bars with equal width and different height depend on sound samples. Then change the background color of each bar accordingly to the current progress.
Spoiler alert: Why 100 bars, you may ask. It is for the ease of calculation! In the next part we are going to hook up the API, the API itself will return an array of sample rates of each audio track, like thousand of sample rates. So, 100 bars mean 100 median data points that we going to calculate from the sample rates of the audio track. Also for ease of progress calculation 1 bar = 1% .. easy!
I can’t tell how much I love the <GridLayout>, and it is perfect candidate for this case. This gonna be 1 row with 100 columns. Each column is a <StackLayout> which serve as a bar with some background color. However, of course, we are not going to type in 100 <StackLayout> elements but using some help from Vue.
Let’s make our template like this:
<GridLayout rows="*" :columns="columns">
    <StackLayout
      row="0"
      :col="index"
      v-for="(bar, index) in bars"
      :key="index"
      :class="barStyles[index].class"
      :style="barStyles[index].styles"
      verticalAlignment="bottom"
    />
</GridLayout>
Then, you want 100 bars? Easy:
<script lang="ts" setup>

const barsCount = 100;
let bars = ref<Number[]>([]);
// create 100 bars
for (let i = 0; i < barsCount; i++) {
  bars.value.push(Math.random() * 100);
}

// build string like *,*,*
const columns = computed(() => Array(barsCount).fill("*").join(","));

</script>
For demostration purpose of this Part 2, it will leave each bar have different height using Math.random(). Now you have 100 bars, with different value range from 0 – 100. Next, as mentioned eariler, we will use this value for the height of each bar. Let’s style it up!
const barStyles = computed(() =>
  bars.value.map((bar) => ({
    class: "bg-zinc-700",
    styles: {
      height: `${bar}%`,
      margin: "0 0.25",
    },
  }))
);
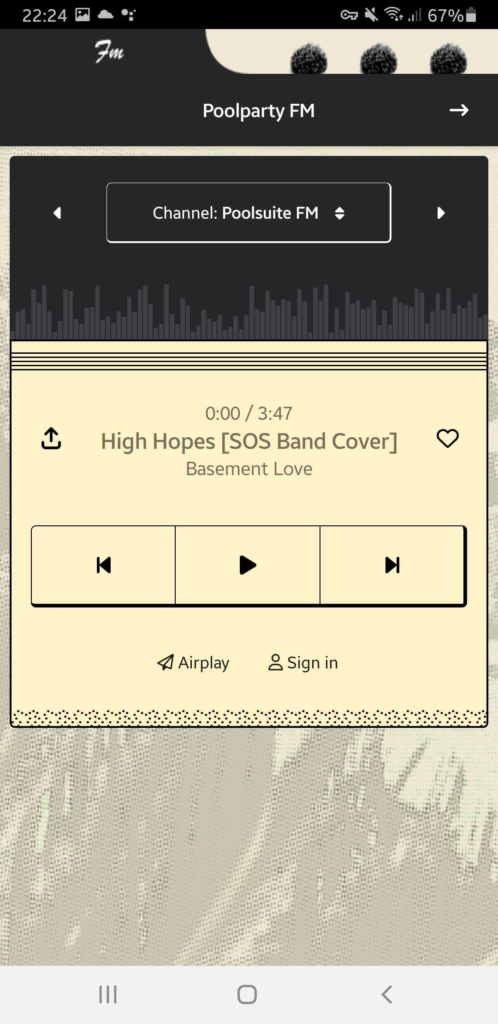
The result is not bad at all.
3. Add retro fonts
Our UI components now have fined retro look & feel. But the text. After examinate the web version at poolsuite.net. I found that PoolSuite FM mainly use two fonts to make up its interface: Chikarego2 and Pixel Arial – both fonts are free to use.
To add any fonts to NativeScript, you can simply drop the .ttf files into the /src/fonts directory it will be available to use right away from css. Lets define our new 2 font faces as below:
.font-pixelarial {
  font-family: "PixelArial";
}

.font-chikarego2 {
  font-family: "ChiKareGo2";
}
While you can use the * selector to apply the font to all elements, I prefer to manually control it by adding the class name to elements where I see fit. Additionally, it’s important to note that not all fonts are the same size; for example, 11px in ChiKareGo2 would be slightly smaller than in the Pixel Arial counterpart.
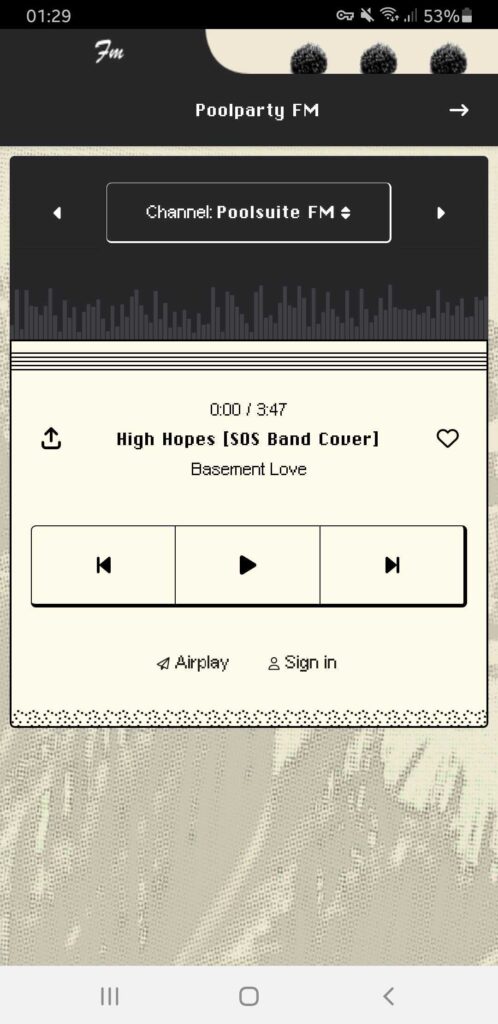
We’re starting to capture the essence of PoolSuite FM in our app now!
4. Bonus: Add a global touch effect to our Android PoolSuite FM
In every NativeScript app I create, I always enable a global tap animation by default. This makes the app feel more responsive without the need to specify custom animations for every single button, which I might forget to do.
Here’s my favorite trick to enable a global tap animation:
/**
 * Add touch animation
 */
import { Color, CoreTypes, TouchManager } from "@nativescript/core";
TouchManager.enableGlobalTapAnimations = true;
TouchManager.animations = {
  down: {
    backgroundColor: new Color("#cccccc33"),
    duration: 50,
    curve: CoreTypes.AnimationCurve.easeIn,
  },
  up: {
    backgroundColor: new Color("#cccccc00"),
    duration: 50,
    curve: CoreTypes.AnimationCurve.easeOut,
  },
};
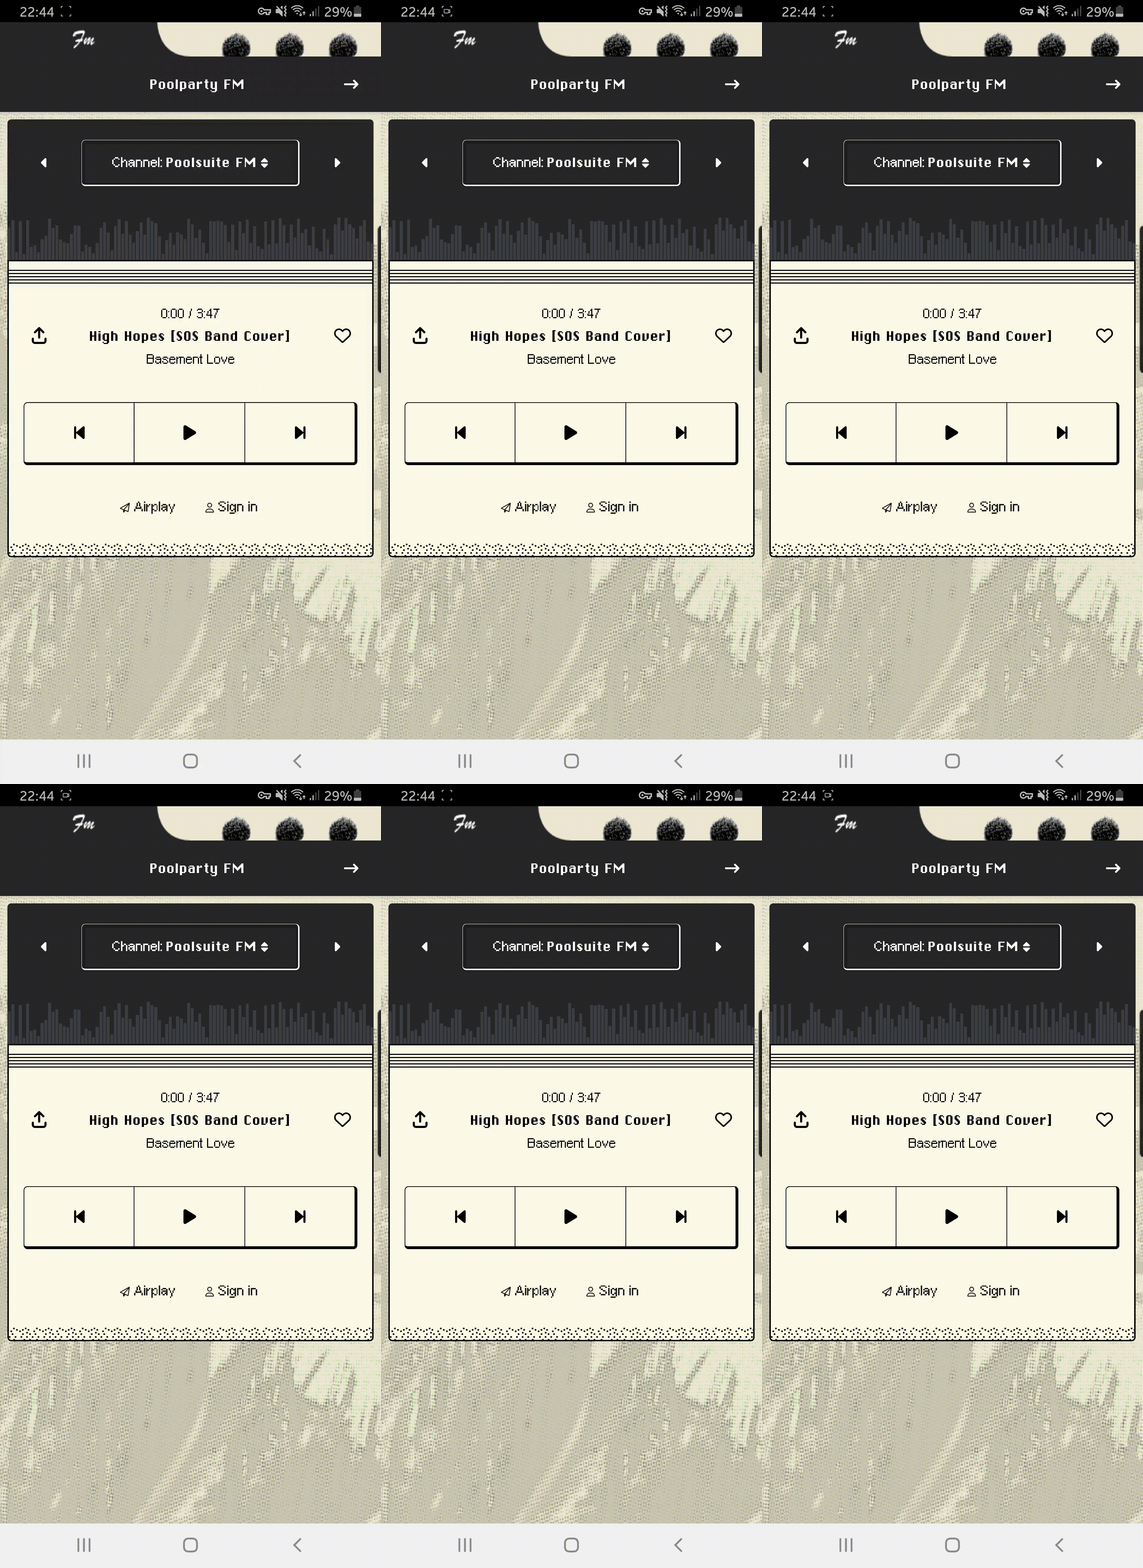
This global animation will only be effective on elements that have a @tap event. So make sure your buttons include that event, or you won’t see any difference. Here is how the above code works in action:
To be continue …
The UI is now completed. In the next part, we’re going to try to hook up the API and actually start playing some music! 🎶 The next part will be available in a few days. Source code may be available before the article. I usually code before documenting it later. If you’re eager to continue, take a look at the latest source code on the GitHub repo.

